
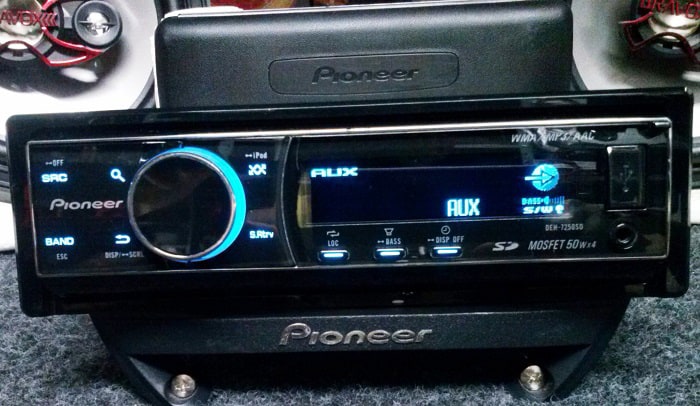
There is no denying that the Pioneer stereo is one of the best car stereos you can get. As a rule, your Pioneer stereo will break down or wear out over time. Before looking for a new one to replace, it is essential to remove your Pioneer radio properly.
Many people think this is complicated, but it is not. All you need is a little patience and some simple tools. So, without wasting much time, let’s explore how to remove a Pioneer radio.
Table of Contents
Recommended Pioneer Radio Removal Tool
- Flathead screwdriver
- Socket wrench
- Radio keys
How to Remove a Pioneer Car Stereo

Remove The Stereo Covering
Step 1. Disconnect the battery Of Your Car
Disconnecting the battery is intended to help you avoid a short or shock.
Start by opening the hood and removing the nut on the negative terminal. Then, slowly pull the wire out and place it neatly on one side of your hood. Then, unfasten the positive terminal and store it on the other side of the hood.
Note
- Always refer to the Pioneer car stereo removal procedure in your car owner’s manual first.
- The positive terminal must not come into contact with any metal parts of your vehicle.
- In most car batteries, the positive terminal comes with a red clip, while the negative terminal comes with a black clip.
- The positive and negative wires must not touch each other.
Step 2: Take Off Any Bolts or Screws Around The Trim
The trim is the border around your stereo and is made of plastic. On some vehicles, this trim is clipped on. Meanwhile, others have bolts or screws to hold it tight. So, check to see if something is holding this border. Then, remove the bolts and screws that secure the trim.
Note:
- Bolts and screws can be out of sight as they are usually located near the bottom of the trim.
- Memorize the position of the bolts or screws to reassemble the trim later.
Step 3: Pry the Stereo Trim off
Whether the trim is attached to the dashboard with screws/bolts or not, you can remove it the same way.
Gently insert the screwdriver under your trim and work around it. When the trim is a little looser, pull it off.
Note:
- If your trim can’t come out, chances are you missed a bolt or screw.
- Be very gentle when removing the trim to prevent cracking or breaking, as it can be expensive to repair or replace.
Step 4: Pop off the Dashboard Covering (For Newer Cars)
For some newer cars, removing the stereo can be a bit trickier. Specifically, instead of prying the trim, you may have to remove the whole dashboard panel.
Don’t worry. It can be removed quickly. Similar to removing the trim, insert a pry bar into the edge of the dashboard panel and gently work around it until it loosens. Then, pull the panel off.
Note:
- On some vehicles, such as SUVs, the panel can expand to cover the cup holders, but the procedure for removing the panel remains unchanged for this case.
- Do not use a metal tool or a screwdriver to take off the panel. This can cause the dashboard panel to crack, which will cost you extra money to replace.
- A plastic pry bar can be purchased at a local auto parts store.
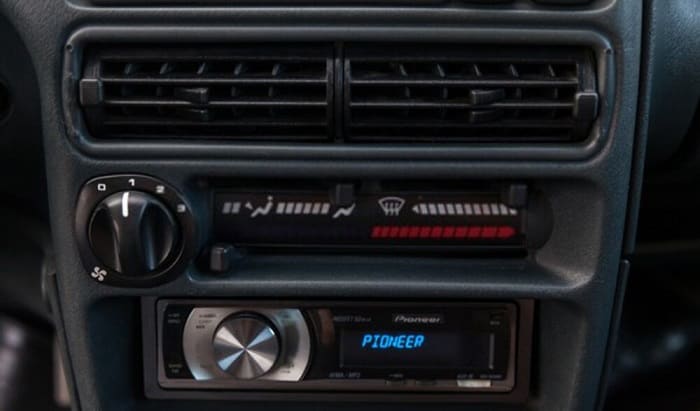
Remove Pioneer Head Unit
Step 1. Find the Slots on either Side of Your Pioneer Stereo
Find the two slots on either side of your stereo. They are where you can put the keys.
Note: Some SUVs or pickups come with two holes on each side instead of a thin slot. In this case, you need to use 2-pronged tools.
Step 2: Insert Keys Into These Slots
After locating the two slots on either side of your stereo, it is time to insert radio keys into these slots. Radio keys are thin tools that are usually included with your vehicle. If you lose them, it is possible to buy them at a local auto parts store.
You need to insert the keys into the slots until you hear a click. If no click sounds but the keys stop moving, they are inserted enough. Keep the radio keys inserted while pulling the stereo out.
Note:
- If radio keys are not available, you can use any thin tool or flat piece of metal, as long as they fit into the slots. We recommend thin files, knives, or hangers.
- At some auto parts stores, radio keys are also known as DIN tools.
Step 3: Remove The Pioneer Head Unit From Socket
Gently slide your stereo out until it comes out of the radio socket. Do it slowly to avoid dropping it.
Step 4: Unplug The Radio
In most cases, there are at least two plugs on the back of the car stereo. After carefully pulling these wires out, your Pioneer stereo is entirely free.
Frequently Asked Questions
Can I remove the Pioneer touchscreen radio without keys?
It is possible to remove the Pioneer radio without keys. All you need is two-flat screwdrivers to loosen the edges of your car stereo.
Is it possible to use a butter knife to remove the Pioneer car stereo?
Yes, a butter knife is a perfect alternative to a flat screwdriver in removing the Pioneer car stereo. So if you do not have a flat screwdriver in hand, it is wise to use a flat butter knife instead of other makeshift tools.
Is the Pioneer car radio good?
There is no denying that Pioneer radios are the best radios you can get. Most of their products sound good and are of high quality.
Is removing Pioneer head unit difficult?
In general, it is not too complicated. However, some stereo systems can be a bit more complex than others. So, it is wise to consult the owner’s manual before starting to do anything.
If you are not sure you can do it perfectly, it is best to get help from an expert. Professional costs are not expensive. Meanwhile, if you damage your car stereo, you have to pay extra to fix it.
How much does it cost to remove Pioneer head units?
It will not cost you much if you do this project yourself. You only have to spend about $20 – 30$ to buy the necessary tools.
In most cases, professional costs are somewhere between $50-$100.
Related tips about Pioneer radio:
Conclusion
Through the above article, we have provided all necessary information regarding how to remove a Pioneer radio. In general, removing the Pioneer head unit is not a complicated task, and every car owner can do it with ease.
Thank you for reading! If you have any other tips regarding this issue, feel free to share them with us.

Hi, I am Amaro Frank – the Wind Up Radio’s content editor and writer. Working with Adam is so much fun, as his stories and experiences enrich my knowledge about radio communications and radio accessories. My main tasks in Wind Up Radio are building content and generating great articles on different topics around radio accessories.