
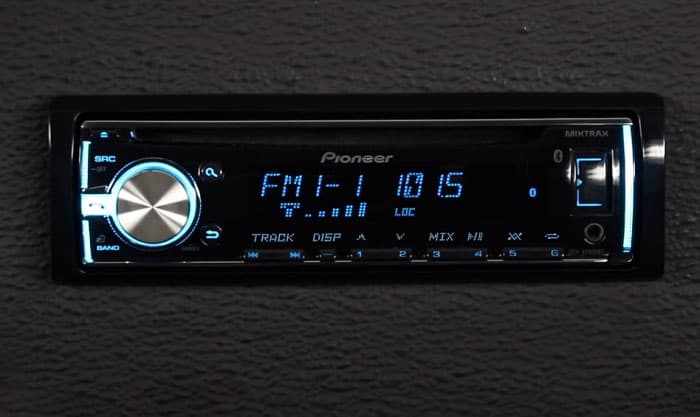
Pioneer Electronics is a well-known brand in the production of car stereos. Up to now, they have produced a wide range of car radios.
All of their car radios have built-in clocks. Unfortunately, there will be occasions when they tell the time incorrectly. If that happens, you may need to change the clock.
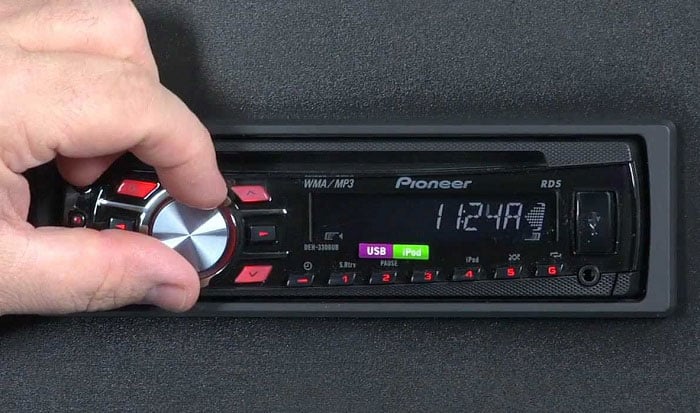
For the inexperienced, how to change the clock on a Pioneer radio can be a bit complicated. However, that does not mean you can’t do it yourself. You only have to start the car and use the volume button to change the radio’s time. Follow our instructions in this article to learn the correct way.
Table of Contents
What is Clock on Pioneer Radio?
There is no denying that it is hazardous to reach for your phone or watch while driving. That is the reason why most Pioneer radios come with a digital clock. As a result, you can keep track of time easily without using an analog clock while driving.
Of course, the clock on your Pioneer radio will be useless if it shows the incorrect time. Hence, you have to make sure it always works correctly.
So what if the clock on your Pioneer radio tells time incorrectly?
Fortunately, it is possible to change time on Pioneer car radio by yourself even if you are inexperienced. Of course, you will need a complete and accurate step-by-step guide, like the one mentioned below.
How to Set the Clock on a Pioneer Car Stereo
Changing the time on a Pioneer radio can be complicated if you are new to how the clock works on it. Thus, this guide was created to make things simpler for you. It may take you a few minutes or less if you are familiar with this process. So let’s get into the details!
Step 1: Start the car
The radio operation depends on the car’s battery. So, let’s start by starting your car. Alternatively, you can also keep the key in the accessory position.
Step 2: Turn off the radio
Make sure your stereo is off. To turn off the stereo, all you need to do is press and hold the source button for a few seconds until the stereo turns off while the clock is still displayed.
Note: The source button is the button used to switch between the available modes.
Next, press and hold the volume down button. In most cases, the volume button has a knob-like structure.
Hold down the sound button until “Menu” flashes on your radio display. Then, roll the knob to the right until “System” appears.
Click the volume button, and you will see “Clock Set.”
If you want to change your watch type from a 12-hour clock to a 24-hour clock or vice versa, turn the knob to the left until “12H/24H” appears.
The selected clock type will be displayed on the screen. To switch between clock types, press the volume button.
Step 5: Press & release the knob
Since your goal is to change time on Pioneer radio, it is not necessary to turn the knob after completing step 4.
While “Clock Set” is still displayed on the screen, click the knob. Remember that you need to press and release instead of pressing and holding.
After you press the knob, the clock will appear on the screen. In case you selected the 12-hour clock, it will display an additional AM/PM symbol.
If the hour digit (or the minute digit) is blinking, it is ready for you to change.
Step 6: Change the hour
To adjust the hour digit (or the minute digit), turn the knob until you get the correct number. For example, you are adjusting the hour digit and what’s blinking is “10”. If you want to change it to “3”, turn the knob to the left. If the correct hour is “12”, turn the knob to the right.
Step 7: Change the minute
After adjusting the hour digit, click the knob again to switch to the minute digit and continue adjusting. You will also rotate the knob to the right or left until you get the correct number.
Step 8: Start the radio
When the Pioneer radio clock settings are complete, press the source button to restart the stereo system. Next, check the clock to see if it tells time correctly.
In most cases, if you follow the above eight steps to set clock on Pioneer car radio, you will get the desired results.
Note:
This guide is suitable for most Pioneer radios available today. Of course, there are Pioneer radios whose interface does not quite match what is mentioned above. However, that problem is not too serious because those models only have some new buttons and new features.
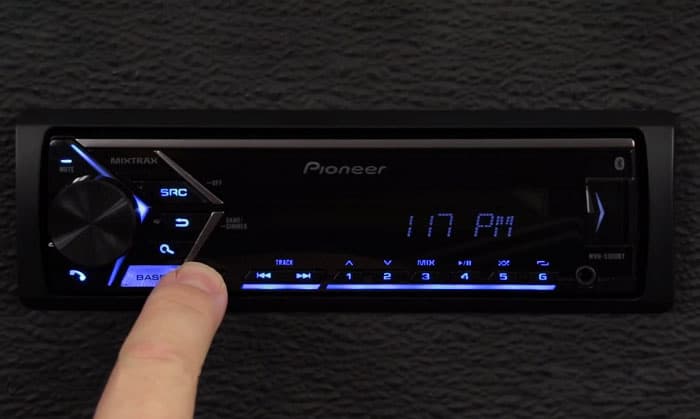
For some modern Pioneer radios like MVH-S400BT, FH-S500BT, DEH-S4000BT, and more, you have to make some adjustments to the steps above, including:
- In step 3, instead of pressing and holding the volume button, just click it.
- Turning off the stereo is not necessary for these stereo models.
- The word “Menu” will show on the screen after you click the volume button.
- After “System” appears, clicking the volume button will show you various options. Skip unrelated options to find “Clock Set.”
- After completing the steps to set time on Pioneer radio, press the back button to return to the standard interface.
Frequently Asked Questions
1. Do I need to hire a professional mechanic to change the clock on my Pioneer radio?
That is not necessary. You can completely set the clock on your Pioneer car stereo yourself. Of course, you will be a little confused the first time.
2. What could cause the clock on a Pioneer radio to go wrong?
The clock on your Pioneer cannot work correctly forever. Even without your intentional intervention, it could still tell time incorrectly someday.
The main factors that contribute to incorrect clocks include:
- Daylight saving time
- The lack of an anchor to maintain the correct time
You won’t need to adjust the clock if your car comes with a GPS. But if it doesn’t, adjust it yourself according to the guide above.
3. Why are there differences between the interfaces of Pioneer radios?
At the present age, technology is constantly evolving. As a result, Pioneer radios are becoming more and more advanced, and this is reflected in new features and buttons.
However, manufacturers always try to keep their products user-friendly. That means the new models are usually not too different from their predecessors. New models even tend to be easier to use.
Hence, our guide can be applied to most Pioneer radios, both old and new. But, of course, you’ll probably need to make some additional adjustments to some Pioneer radios.
Bottom Lines
In case you still have the owner’s manual, it’s best to consult it first. If it doesn’t mention how to change the clock on a Pioneer radio, use the above steps.
Pioneer radios can vary in appearance and buttons. So, the way to set clock on Pioneer car radio may be slightly different among them. But, in general, our guide is suitable for most models, including old and recent ones.
Read more: Steps to remove a Pioneer radio.

Hi, I am Amaro Frank – the Wind Up Radio’s content editor and writer. Working with Adam is so much fun, as his stories and experiences enrich my knowledge about radio communications and radio accessories. My main tasks in Wind Up Radio are building content and generating great articles on different topics around radio accessories.