
Are you googling “FM 75 ohm antenna Bose wave radios” and questioning yourself whether you can DIY this gear at home to save costs? If the answer is yes, this post is what you need.
We’ll show you how to make a 75 ohm FM antenna at home in just a few effortless steps. You just need some tools, like a speaker wire, a 4mm plug, or a 3mm plug.
Table of Contents
What is a “75-ohm Antenna?”
Frankly, a “75 ohm antenna” doesn’t exist. You’ve heard me right; no antenna is actually 75 ohms. In fact, it’s a bit of a misunderstanding.
To better understand everything, first and foremost, you’ll need to grasp the basics of impedance. Impedance is a measurement calculated by ohms, which represents a material’s ability to transmit current.
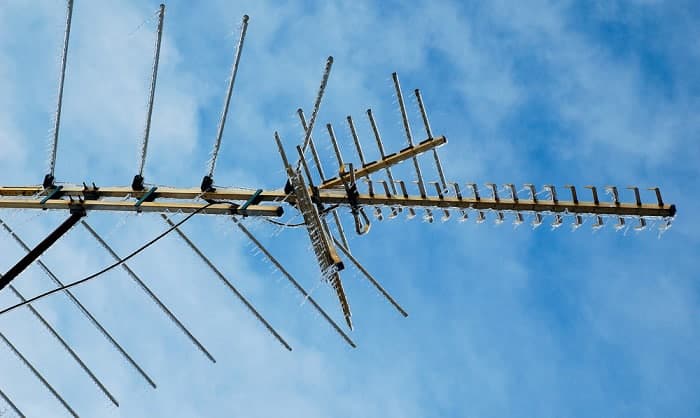
In typical antennas, we usually witness a natural impedance of around 300 ohms, which is nothing near the 75 ohms stated in the phrase “75-ohm model” we usually say. The 75-ohm measurement is due to the mechanism in which transmissions happen and the components utilized to collect these transmitted powers.
With such a high impedance, utilizing the antennas with other devices was a tricky task. They just don’t work well together and tend to mess up everything. That’s why people sought a solution, which is the birth of a balun.
Within the antennas, the balun will utilize its compact transformer to lower the antennas’ impedance by a factor of 4 (for conventional antennas) or 6 (for a few commercial products). As a result, it reduces the natural 300-ohm impedance to 75 or 50 ohms, which is a significantly better conducive output for copper coaxial wires.
Since nearly all antennas manufactured presently include this balun, people assume today’s antennas are 75-ohm, while in fact, 75 ohms are only the output of these antennas, not the impedance.
75 ohm and 300 ohm antennas: Are they different?
Now, you might be wondering “are 75-ohm antennas and 300-ohm ones the same?” They are, yet they are not.
The most significant distinction between this two, in our opinion, is only the accessibility. In comparison to 300-ohm antennas, 75-ohm ones might be a lot simpler to utilize. In addition, most advanced transmitters nowadays include 75-ohm cord connectors.
What You Need Before Making a 75 Ohm FM Antenna
Materials
When the rod is not of conductive materials, it is advisable to employ a rod approximately 55 to 58 inches to construct an aerial structure. To withstand the wind, the material should also be robust and sturdy. Fiberglass shafts, PVC, aluminum, and wood are all excellent examples.
Knowledge of FM frequencies
Notably, before assembling the aerial, it’s essential to obtain a comprehensive grasp of FM’s frequencies for sending and receiving signals. The wavelength of a 27-MHz FM one is considerably longer than 17 ft; thus, to acquire FM transmissions, it’s advisable to divide the wavelength in two halves.
Then, we recommend creating insulation for both cable lengths, connecting them to your FM radios, then placing them in the highest possible position.
Tools
In addition, it’s critical to possess a first-rate welding iron, as well as a welding rack to keep the various aerial components orderly while you’re working.
At the same time, electronic solders, double-sided tapes, and even electrical tapes would be needed. For the best outcome, a comprehensive toolkit with various clips, pliers, and screwdrivers would also play an essential role.
How to Make a 75 Ohm FM Antenna – Detailed Instructions
Homemade FM antennas are achievable, and there are lots of methods you could use to conduct a DIY FM antenna 75 ohm. Today, we’ll show you the 3 best ways to create a 75 ohm FM antenna at home.
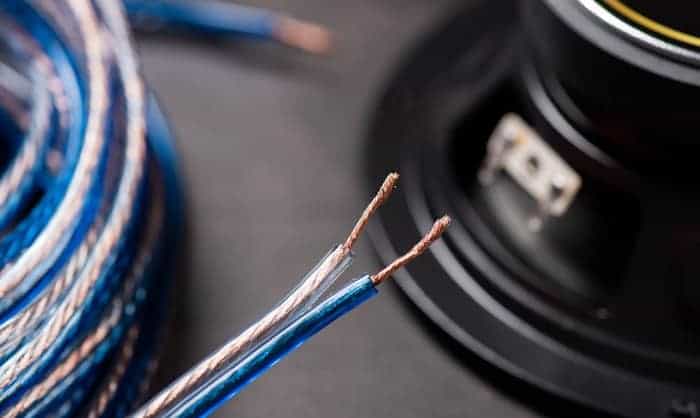
1. Homemade FM radio antennas with speaker wire
Speaker wire is one of the most common materials involved in creating an FM antenna. The following is a step-by-step procedure to DIY this piece at home:
Firstly, trim 10 feet of cable from the speaker line for the antenna.
At the 3-foot mark, check and splice the cable. Then, form a large “T” using each of the 3-foot sections and connect them vertically to the leftover 7 feet so that it doesn’t get split.
After that, pry off 2 inches of insulation from the other tip of the residual 7-ft speaker wire.
Next, connect the speaker cable to the radio following these instructions.
- Search around the receiver end for an external antenna cable. The “ant.” or “ext.ant” tag might be available.
- At the external antenna hookup, wrap the speaker wiring cables all around the posts.
- Intertwine the 2 strands to make a unified cable. If the external antenna linkage is a clamp, this step is mandatory. Since there’s no electricity running via the wires, you will not get electric shocks.
Moving forwards, it’s time to extend the antenna: To begin with, place the receiver, which in this case is the speaker wires, near a window. Then, get the antenna cable through the window and position it in a loft area.
To complete our DIY session and offer assistance for the cable, utilize a little nail. Outside the window, set up the 2 cables in opposing directions. It’s also preferable to fasten a nail to the tails of the 2 strands to provide extra stability.
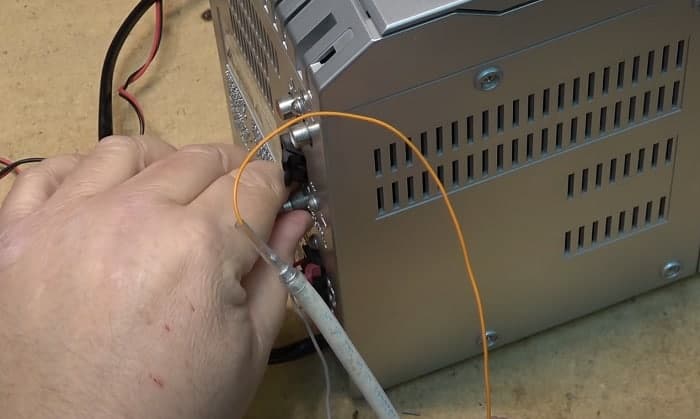
2. DIY FM antenna with 4mm plug
You could utilize a 75 ohm cord to construct an aerial to your FM radio and mount it onto the television’s back. Indeed, adding an aerial this way is an excellent method to enjoy the broadcast without breaking the law.
You’ll need a 75 ohm cable and a few connectors to fit the termination of the FM aerial on your television.
Afterwards, plug one tip into the FM transmitter connection socket on the TV and tuck the other end over a surrounding window or wall. Now, using 75 ohm connectors and additional cords, you can effortlessly assemble your own aerial.
This method is ideal for any task requiring an FM wavelength as numerous speakers, headphones, instruments, and other devices can function with 4mm plugs.
3. Homemade FM radio antennas with a 3mm plug
As stated previously, it is possible to create a 75 ohms FM antenna using various techniques, and employing 2 parts of a copper wire is also another option.
Each part should be 60cm in length, with one part featuring an extra 10cm on one end while the other possesses a 5cm addition.
Now, remove 1/4 inches from each side, tighten them firmly, then solder or join them if necessary to eliminate any slack threads.
The final stage is to apply soldering or crimping to affix a 3mm plug for transferring FM data to one end, leaving no uncovered wires. If you are unsure about your competence to perform this procedure, entrust it to somebody else.
Conclusion
Now you know how to make a 75 ohm FM antenna at home using 3 effortless methods. The process isn’t complicated at all and only calls for basic preparations and skills.
Thus, if you want to save a few bucks on buying a brand new antenna, we hope today’s post has cleared your path. So give it a whirl, and you might realize it’s not as hard as it seems. Good luck!

After four years working as a radio mechanic, I know that everything about radio communication is not breezy, even though it greatly benefits us. That is why I set up a website sharing my skills and guides to help non-professional users use their radio headsets, set up their antennas or choose the right products, etc.